Mobile

Mobiel

Friday, January 4, 2013

Football Valentine's Box

When my son was in Kindergarten, he was to bring a box to school to collect Valentine's Day cards from his classmates.  So with my lack of  crafty and creative talent, we created a Valentine's Day box.  I was quite proud of it as we marched into my son's class with it.  Then I saw the other boxes.  Wow!  There are some very creative and talented mom's!  Mine looked like it was created by a kindergartner  which of course I said it was.  I would never admit that I did most of the work. 

When my son was in first grade, to my horror, he brought home a note asking parents to help their child create a Valentine's Day box for school.  What was I going to do?  My son wanted a football box.  I looked online and found an idea and tried to recreate it.  It actually turned out . . .at least I thought I did.  I wasn't going to get too proud knowing that we still needed to get it to the school and face the boxes created by the more talented Mom's.  

I am happy to report the box was an absolute success!  The first thing my son said when he got home was that he could hardly breath because his classmates crowded in so close around him to look at his box. The kids had a blast slipping their cards into it. YEAH!!!  Now I just have to get through another year.  My fingers are crossed that decorating the box will be a class project.  Pretty sure I used up all my crafty luck!

Here is what it looked like and how I did it:

Warning:  These instructions might not be totally accurate and even make sense.  So use your better judgement when recreating your own football box.

  • We got a larger shoe box and cut a rectangle hole, large enough for cards, in the lid towards the top.  
  • We wrapped the lid and the box separately in green making making sure the lid still had the hole. 
  • I bought some football stickers from Walmart and let my son place them wherever he wanted.   
  • I had planned to draw yard lines but he placed all the stickers on top.  
  • For the goal post, I used bamboo skewers and cut and glued them together to resemble a goal post.  Make sure that any pointy parts are cut off except for the base.  Use a pointed piece for that with the point facing down.  Gluing them is tricky.  I can't remember what kinds of glue I used but it took a lot of it along with manipulating the sticks to hold just right.  When the glue is dry, poke the goal post in the box.  You may need to glue it from underneath too. 
  • For the net, again I used bamboo skewers cut to the size I wanted leaving the pointy parts at the bottom   The net was cut from an orange bag and glued to the skewers.  When the glue is dry poke the pointy parts into the box behind the goal post.
Source:  http://lottamadness.com/home/2011/02/12/valentines-boxes-2/

Wednesday, January 2, 2013

Cheesy Kale Chips


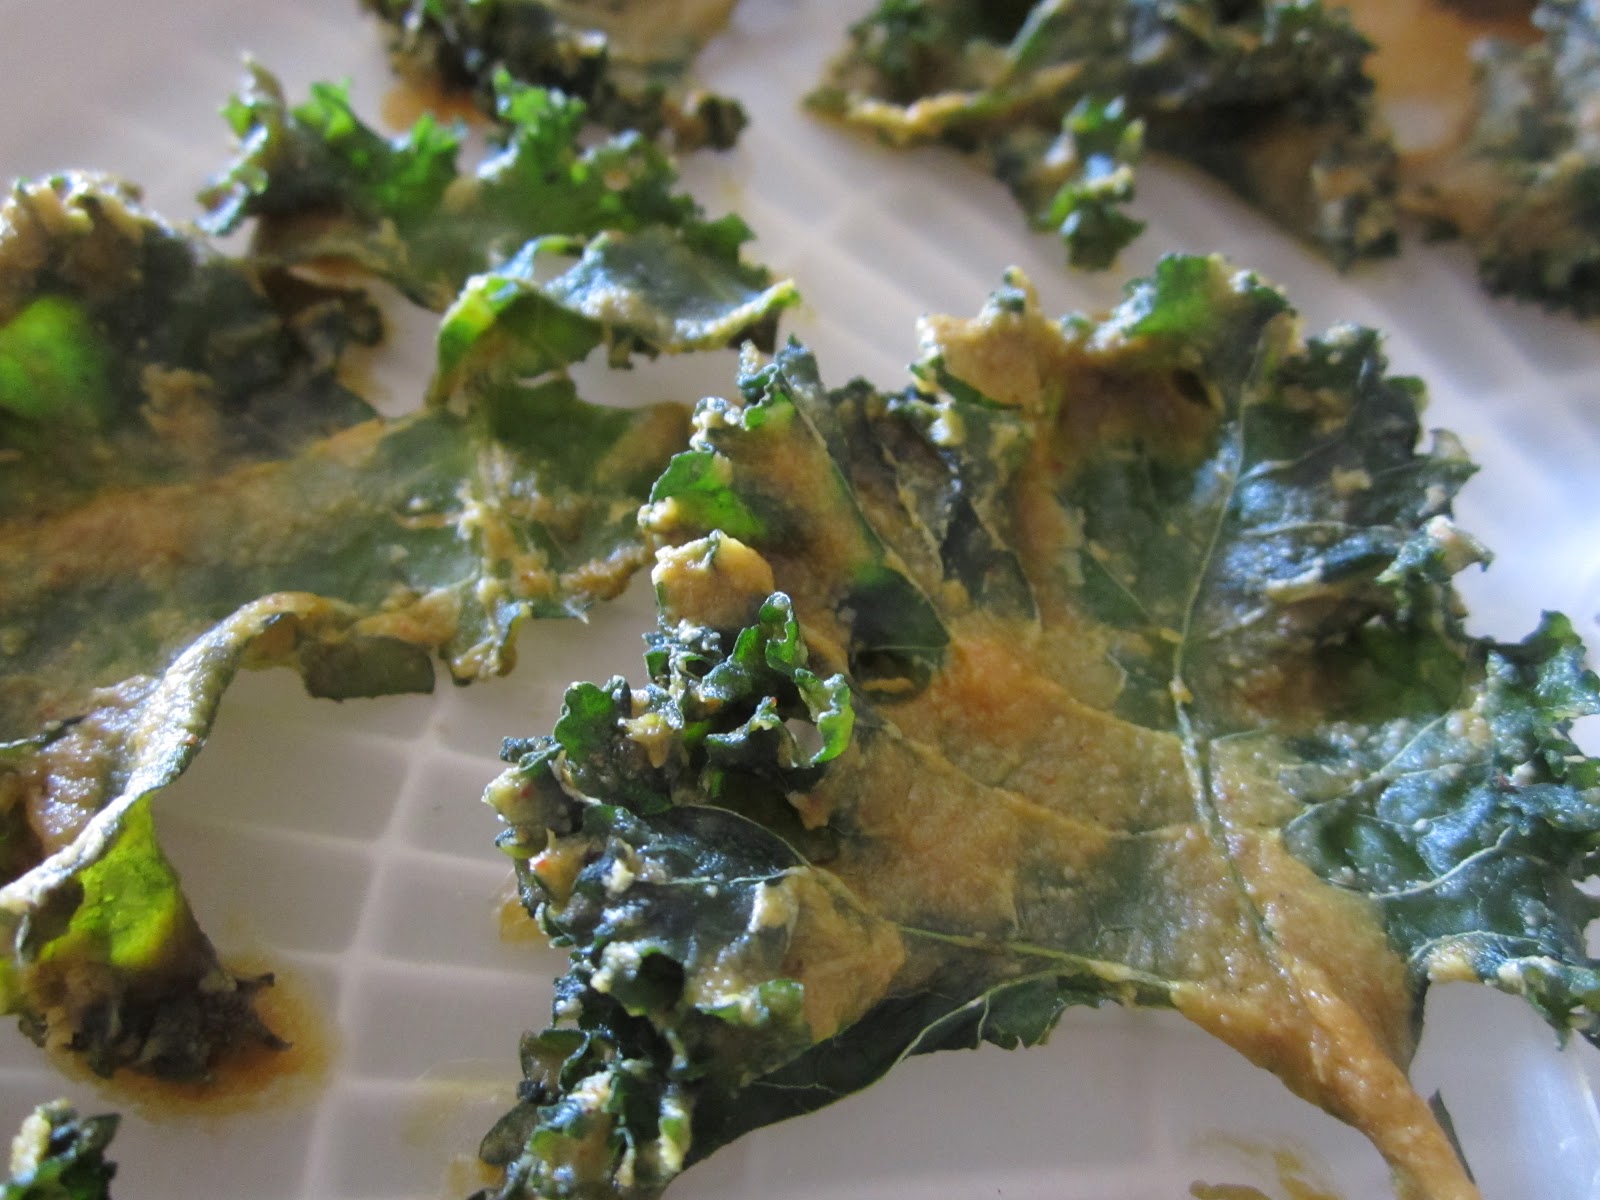
These are addictive.  When I first read about this recipe there was a story about kale chips disappearing   The author said she finally caught her little 2 or 3 year old sneaking the chips out of the dehydrator!  I had a 17 month old at the time and if she could have reached my dehydrator she would have done the same thing.  She loved them.  These chips are a little time consuming and disappear fast.  You can use collard greens too.   They are a little easier to use but I like the taste of the kale much better.  I usually triple the recipe.  Let me know how you like them!

Cheesy Kale Chips

1/3 cup cashews, soaked 1-2 hours (optional)
2 Tbsp. lime juice
3 Tbsp. water
1/4 cup olive oil
1 tsp. Original Himalayan Crystal Salt
¼ cup nutritional yeast
¼ medium shallot or ½ small yellow onion (optional)
½ tsp. chili powder
Pinch cayenne
Pinch turmeric
3 cloves garlic
Freshly ground black pepper to taste
1-2 bunches of washed kale or collard greens, removed from stem and torn into pieces

Blend all ingredients in a blender. Dip kale or collard leaves in mixture and dry them for 4-6 hours in dehydrator (until crispy)

NOTE:  Save the stems in the freezer and add to green smoothies.

Source:  Email from Green Smoothie Girl

Cranberry Chili Meatballs and Sausages


These are YUMMY!  I actually used my leftover homemade cranberry sauce at they turned out great.  The original recipe didn't have enough kick for me so I added more cayenne.  You may want to add or decrease.

Ingredients
1 can (14 ounces) jellied cranberry sauce
1 bottle (12 ounces) chili sauce
3/4 cup packed brown sugar
1/2 teaspoon chili powder
1/2 teaspoon ground cumin
1/2 teaspoon cayenne pepper (start out with 1/4 teaspoon and add more to taste)
16 ounces frozen fully cooked meatballs, thawed
16 ounces cocktail sausages

In a large saucepan over medium heat, combine the first six ingredients; stir until sugar is dissolved. Add meatballs; cook for 20-25 minutes or until heated through, stirring occasionally. Yield: about 6 dozen.  

NOTE:  You may have plenty of sauce to add more meatballs and sausages

Adapted from:  http://www.tasteofhome.com/Recipes/Cranberry-Chili-Meatballs


Tuesday, December 11, 2012

Rachel Ray Magazine had a recipe for Shrimp and Scallion Pancakes and I just had to try them.  As as Rachel would say, "They are Delish!"   My husband and I loved them.  My kids not so much.  So this might be an Adult Only kind of meal.  They pancake part reminded me of a soft flavorful tortilla.  I also made a peanut dipping sauce.  Let me know what you think!

    Shrimp and Scallion Pancakes with Peanut Dipping Sauce

    ingredients

    2 cups flour
    1/2 teaspoon salt
    1/4 cup plus 1 tsp toasted sesame oil
    1 cup thinly sliced scallion greens (from 1 bunch)
    6 ounces thawed frozen cooked shrimp, patted dry and finely chopped
    4 tablespoons butter using a tablespoon at a time when frying pancakes
    1 1/2  tablespoons peanut butter
    2 tablespoons braggs apple cider vinergar or seasoned rice vinegar
    1 tablespoon sugar

    directions

    In a small saucepan, boil 1 cup water. In a large bowl, combine the flour and salt. Stirring, slowly pour in 3/4 cup of the boiling water until just incorporated. Knead briefly until a dough forms, adding more water in very small increments if needed. Transfer to a floured work surface and knead for 1 minute more. Return to the bowl; cover with a damp cloth when not using dough.

    Divide the dough into 4 pieces and shape each into a square. On a floured surface, roll 1 dough square into a 7-by-10-inch rectangle. Brush the top with 1 1/2 tsp. sesame oil; fold in half. Brush with 1 1/2 tsp. more sesame oil; fold in half again. Repeat with the remaining dough squares.

    Roll each dough piece into an 8-by-11-inch rectangle. Distribute the scallions and shrimp lengthwise over half of each rectangle. Fold the other half over the filling; fold in half again. Roll into 9-inch pancakes.
    In a skillet, heat 1 tbsp. butter over medium-high heat. Fry the pancakes 1 at a time, turning once, until golden, 5 minutes. Add more butter to the skillet as needed. Transfer the pancakes to paper towels to drain. Cut each one into 8 wedges.

    For the dipping sauce: In a small bowl, combine the peanut butter, vinegar, sugar and 1 1/2 tbsp. water.  It may help to warm the peanut butter up for a few seconds in the microwave.  If you don't just mix really well.

    Adapted from: http://www.rachaelraymag.com/recipe/shrimp-scallion-pancakes/

    Enjoy!

Saturday, October 27, 2012

Cheap Plant VS. Zombie's Costume For Your Boys

For Halloween, my son wanted to be a Zombie from the Plants vs. Zombies game.  When it comes to cooking I can be creative but that's as far as my creativity goes.  We looked at the various Zombies on the game's almanac.  He chose the zombie with the bucket on his head.  I thought, "Hmm, I could do this!"  I found a cheap $1.99 Halloween bucket and bought some silver spray paint for about $3.50.  My husband spay painted the bucket in about 5 minutes.  For the rest of the costume we used clothes we already had.  We cut up a pair of jeans that had holes in it.  We used a suite jacket that was two small and my son's Sunday white shirt and tie.  We painted his face along with his exposed leg with green face paint.  We also added some cuts and scrapes using the makeup that came with the face panting kit.  We finished the costume off with some cheap fake teeth.


Halloween Night after a long trek of collecting candy.

Before makeup.

Wednesday, October 3, 2012

Crepes Glorious Crepes

I had a roommate who lived in Belgium and learned to make crepes.  She claimed that there was only one way to make them which resulted in the best ever crepe.  We would have parties and she made them for a bunch of our friends.  She would not allow anyone to touch a crepe until the batter was used up.  It would drive us crazy!  Those crepes looked and smelled so good!  Oh and they were so good!  Those were good times.  I followed her recipe for years.  I'm not sure why I decided to try another recipe but I did.  It was from a large cookbook I had purchased from a traveling salesman.  I couldn't imagine the recipe being better then my roommate's Belgium crepes but I tried the it anyway.  The crepes turned out Wonderful!  If I even dare to say it, they are better then my old roommates (I am seriously scared for my life if she every found out!).  I am sharing this delicious recipe with you.  My favorite way to eat crepes is the way I had them served at French crepe eatery in a mall back East.  They served crepes with a little sprinkle of lemon juice and a dusting of powdered sugar.  
This picture is actually from the book "What's Cooking."  I don't think I could make mine crepes this pretty.  If you are interested in the book you can find it here.

Crepes

The book says that Crepes are better if you let the batter stand for a while before cooking but I can't really tell a difference.  Makes 4 servings.

1 cup flour
1 1/2 cups milk
2 eggs
1 TBS melted butter
1/4 tsp salt

  • In a bowl, mix all ingredients and refrigerate for 2 hours (As I said, I don't wait. I just start cooking.)
  • In a lightly buttered skillet, pour 1/4 cup crepe mixture, spread evenly on skillet surface.  Cook for 1 minute over medium heat.  Turn crepe and cook on other side for 30 seconds.
  • Garnish crepes with your choice of stuffing.  Roll crepe or fold in quarters before serving. 
It takes practice making crepes.  Usually the first one or two or five don't look too great but they will still taste great.  Let me know what your favorite crepe toppings are.